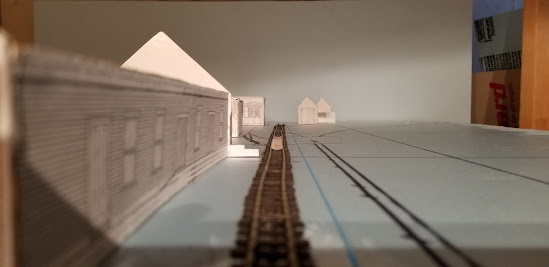
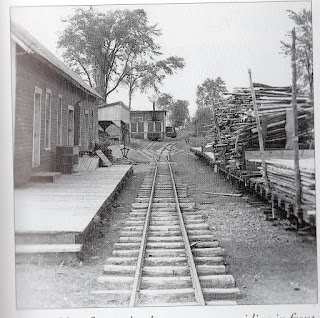
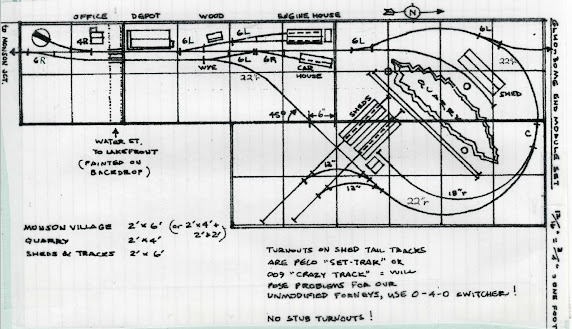
I am pleased with the layout of the buildings and track when compared to a photo of the prototype. The photo is from Two Feet to the Quarries, Robert C Jones, Evergreen Press, 1998 page 101. Tom Hoermann deserves all the credit because he drew the track plan shown below and I am building the foot long module from it that includes the depot, engine house, car house and wood shed. I used his track plan to fit all the buildings onto a four foot long module.
Keep in mind that I am compressing a distance of about 515 feet into scale 350 feet. Also note that all of the buildings are full scale. Because I am conforming to HOn30 module standards, the track is straight where it is curved on the prototype.
I will be using the following kits:
Hodgdon Company Monson Station
Stevens Creek Wood Shed
Stevens Creek Car House with Tool Shed
I will scratch-build the engine house using BEST slate shingles.
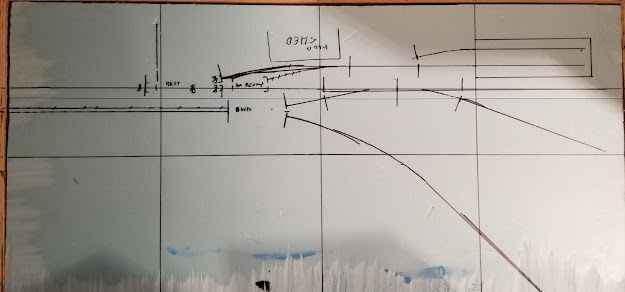
Below is an overhead shot of the track marked on the blue foam of the module.